How to create a garden border
Give your outdoor space some flower power by creating a border – not only stunning to admire, but beneficial to wildlife, too.
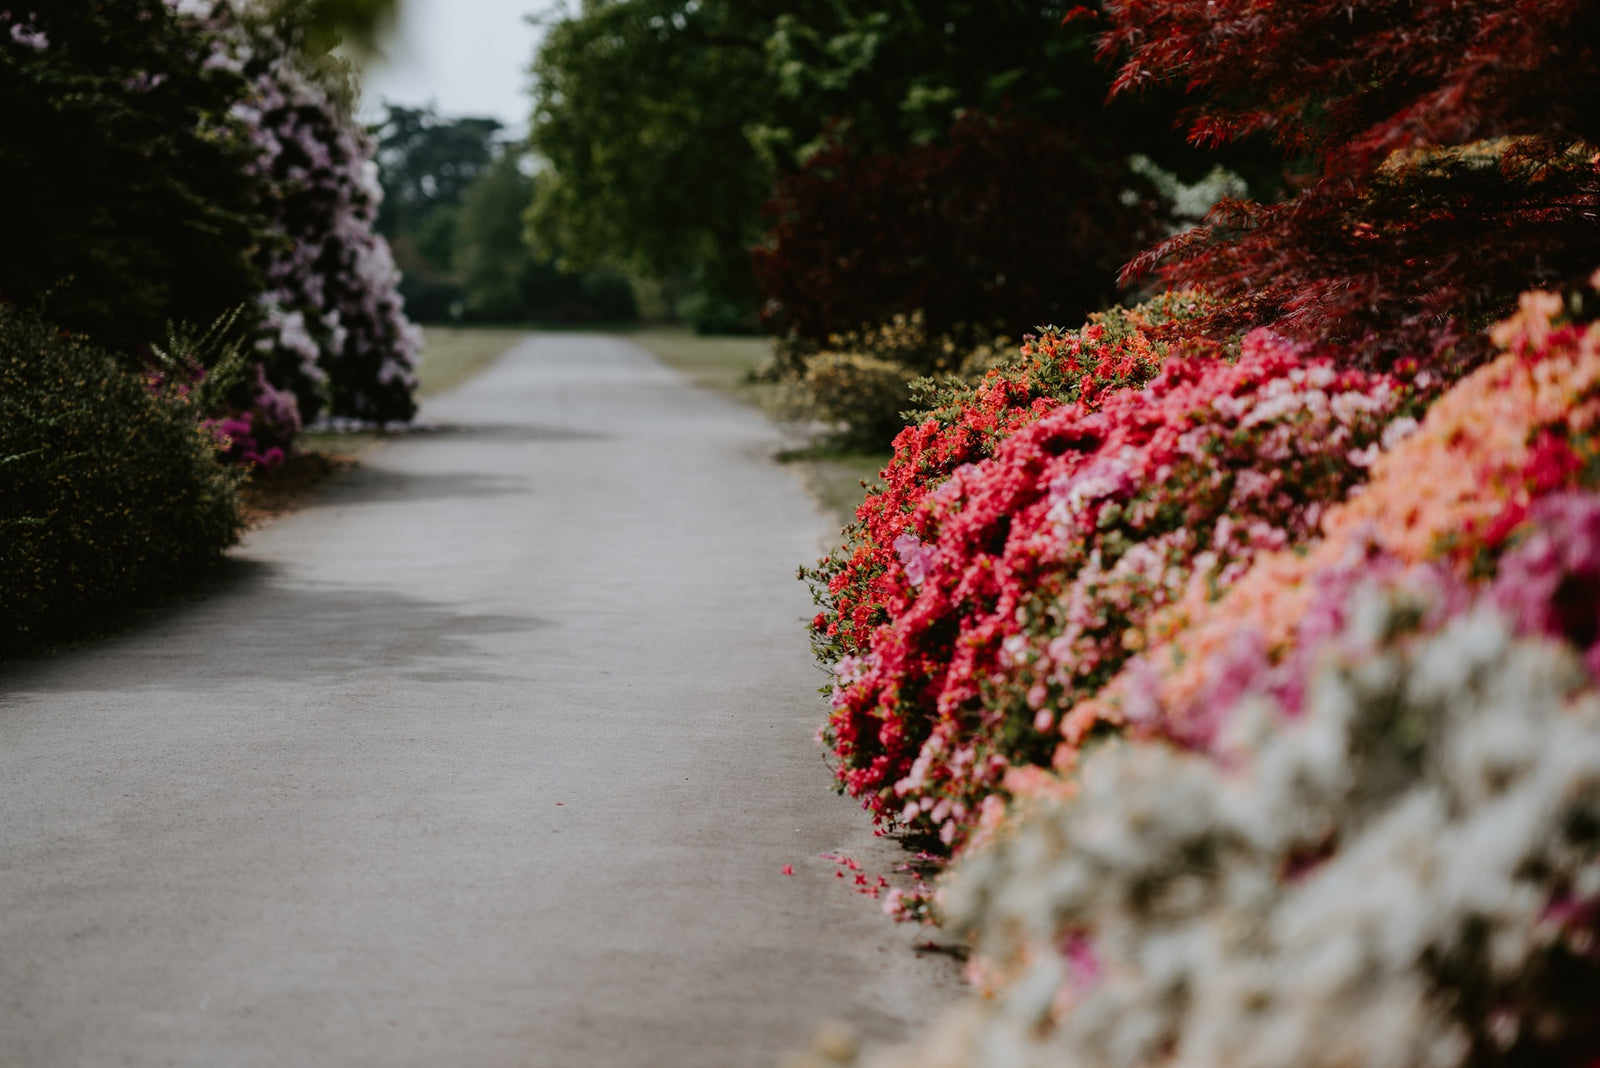
A garden border is a fantastic way to spruce up your garden – and it’s not as difficult as you think either, we promise! The visual effect of a border – seeing a collection of perennial plants arranged closely together provides a beautiful array of colour that’ll instantly brighten up your outdoor space – speaks for itself. But, it’s also a great way to experiment with different plants – many can attract pollinators such as bees and butterflies to your garden, as well as some greenery being scented, too which adds another layer of enjoyment to a border. Here’s how to get started!
1. Consider the space
With all plants, both indoor and outdoor, light is an important factor to consider as it’s key to whether your greenery flourishes or fails. When picking out a plot in your garden to transform into a border, you will need to think about the amount of light it gets and consequently what plants will grow well there. Is it in full sun? If so, opt for Osteospermums or Delospermas. Or, perhaps it has a little more shade – if that’s the case, an Astilbe would work well. You’ll also need to think about the soil type and how much drainage it has – for example, is this border on a steeper part of your garden?
2. Select the shape and size
Once you have allocated a suitable position, the next part of creating a border is to start marking down some guides to form it. This is exciting and a chance to really let you imagination go wild as there are many different ways this could go, from straight and square borders for a more minimalistic look, to curved edges that create the illusion of more space. Measure this out and adjust accordingly so you can get a size that is perfect for your garden. A good hack is to make use of a garden hose if you’re considering a curved border as you can lay this into the a shape of a curve to help you envision how it’ll look.
3. Remove grass
The next step will be to prepare a foundation for the border. Cut away old patches of grass with using a spade and also remove rocks and weeds at the same time. We recommend reviving and refreshing the ground with fresh compost to give the new plants the best growing conditions possible.
4. Add in edges
In order to create a clear distinction between the rest of your garden and the border, you want obvious edges to separate the two. Use an edging knife, or an edging material to line the border with, to achieve this. You’ll then need to create a trench that is a minimum of 4cm deep in your border.
5. Plan your plants
With the border now established and set up, the finishing touch is, of course, to add the plants. We’d advise planning this and arranging them whilst still in their pots before planting as it’ll be a more difficult task to uproot and move them afterwards. Think about if you want to create a specific colour scheme – perhaps the brighter the better, or a pretty pastel pink to purple theme. Also, contemplate the sizing of each plant. Put the tallest plants at the back, and smaller ones at the front to create a graduated effect of different sizes. Alternatively, you could choose only plants of a similar height for a more uniformed look. A final factor to consider is the spread of the plants, too. If a plant’s width can grow to 30cm, you need to make sure it has around 15cm on either side before planting another plant next to it. To get inspired, browse our full collection of outdoor plants here. Once, you’re happy, plant away!
Final tips
- Soak your plants in a bucket of water before planting them.
- Dig a hole that is larger than their roots.
- Water them well until they’re established and especially if there’s a dry period of humidity.